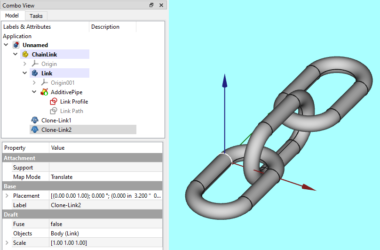
This post will walk you through the steps that show how to setup Qt Creator for use with FreeCAD. FreeCAD is developed using Qt for the user interface and they’ve made it easy for you to extend the UI with your own dialogs to run your own python scripts. This post highlights a few things you need to know to install Qt for use with FreeCAD that are different than a standard install.
This post is step 1 in a three part series…
- How To Setup QtCreator To Use With FreeCAD (this post)
- How To Create A User Interface For Your FreeCAD Python Scripts
- How To Create A Python Script To Display A Custom Form In FreeCAD
I’m assuming you don’t have a license for Qt and that you want to install Qt on your Windows machine. The tricky part is you want to install the “community edition” of Qt which is free to use for non-commercial purposes. You don’t want the free trial option as this is the full development product that you can use for a limited time before buying it. In fact, it is impossible to find a link on the Qt website for downloading the “community edition” (or at least I haven’t found it yet).
The secret is to download the Qt installer to your Windows machine and run it. You can download from here… Download Qt: Get Qt Online Installer
The Qt installer will download to the Windows “Downloads” folder. You can run it from there. Most of the selections are pretty obvious, but you need to change the version of Qt from the most recent to the V5.15.2 Option which is shown in a screen shot further below.
Installation
The following screen will display.
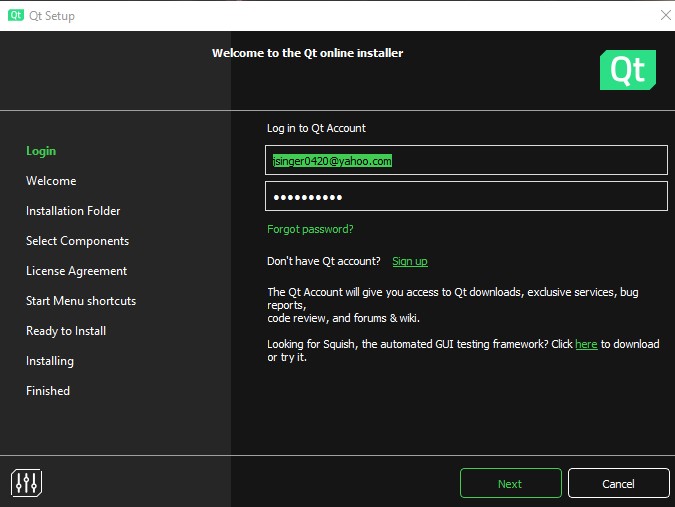
QT wants you to create an account so go ahead and complete that process. Once you have a userid and password fill them in and press Next. If you already have an account and a commercial license installed, you won’t be given the chance to install the community edition. I would suggest creating a new account to solve this problem.
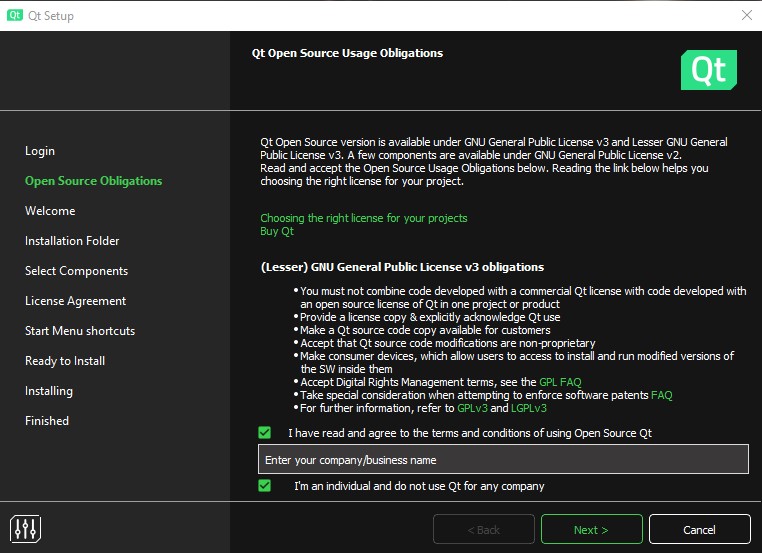
On this page you have to check the two boxes at the bottom. Qt has detected you have no licenses so they assume you are installing the free version.
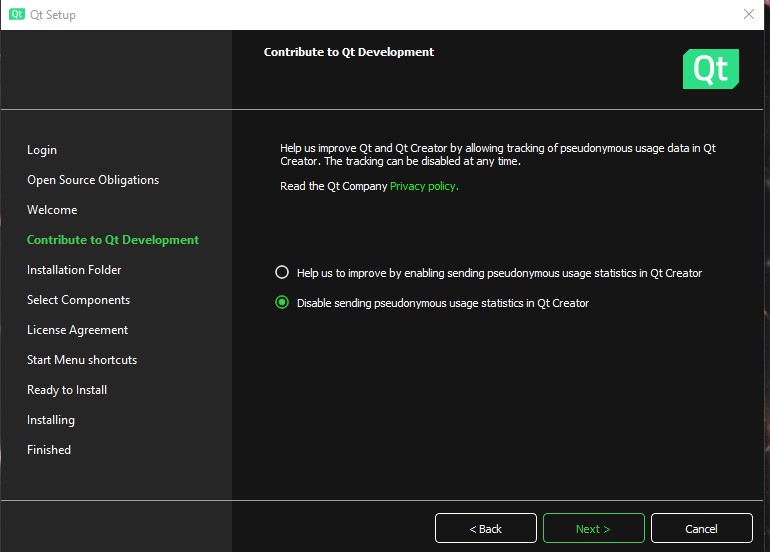
You can check either of the radio buttons – this determines if you will send data to Qt.
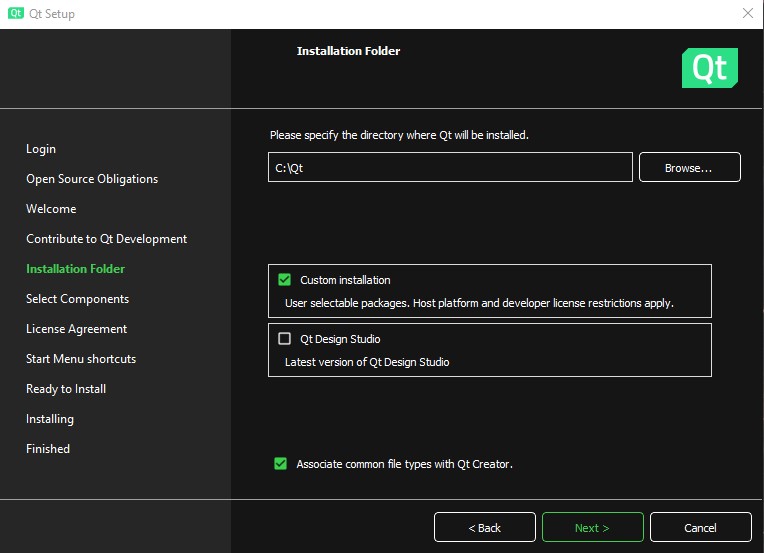
Check “Custom installation”.
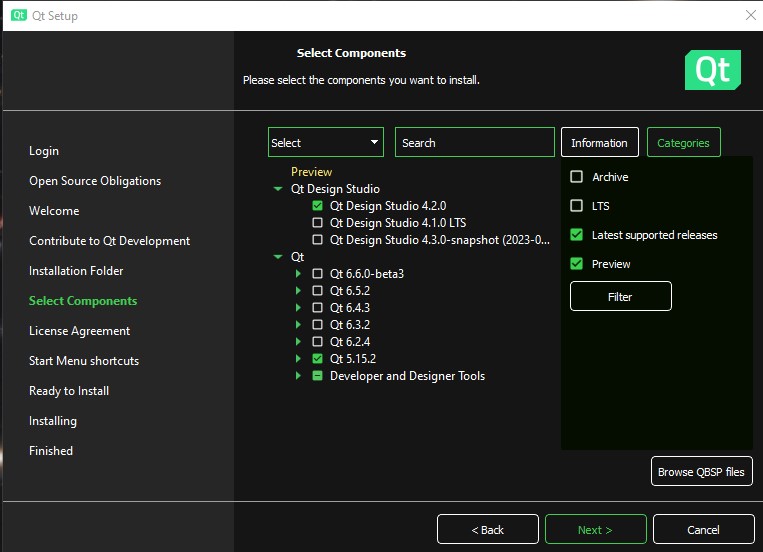
Here you should open the tree view to see the options. The first one “Qt Design Studio” has “Qt Design Studio 4.2.0” checked which is fine.
The Qt option has the most recent version checked by default. Since we are using Qt with FreeCAD however, we want Qt 5.15.2.
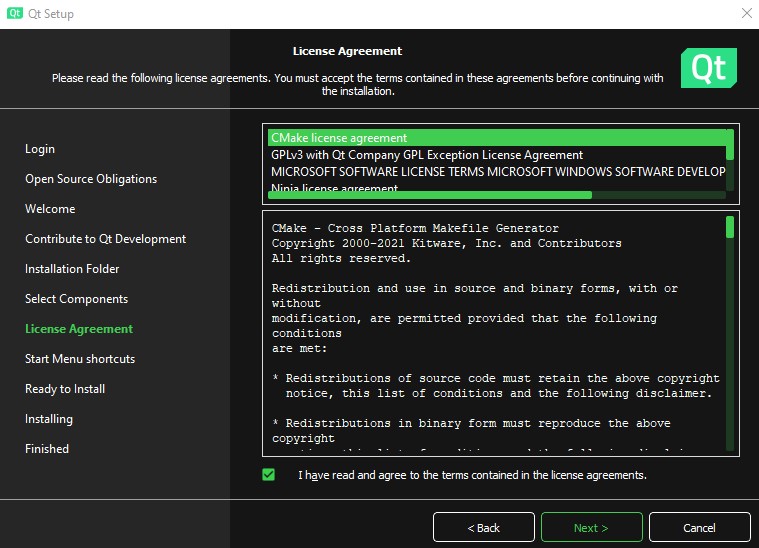
Of course, we need to agree to the license.
Keep clicking Next until the installation starts. It will take awhile… Qt is not a trivial product so expect this install to take awhile. It’s going to drop 50 plus Gig on your hard drive.
Conclusion
Once you have Qt installed you can use Qt Creator. Qt Creator is the IDE for developing Qt applications and includes the Qt Designer which we use to design forms or dialogs to be used in FreeCAD. This post describes how to create a Qt project and a simple form in Qt that can be used in FreeCAD.
And Finally…
I hope you found this post a useful explanation of how to setup Qt Creator for use with FreeCAD. You can check out my other CAD posts here…